Applying Danish Oil to Walnut Furniture
Danish oil is a popular choice for finishing walnut furniture because it penetrates the wood to enhance its natural color and grain while offering a moderate level of protection. Unlike film-forming finishes such as polyurethane or lacquer, Danish oil does not create a thick surface layer. Instead, it cures within the wood fibers, leaving a low-sheen, natural look that many woodworkers and furniture makers appreciate. This article outlines the general steps for preparing walnut surfaces and applying multiple coats of Danish oil, focusing on methods that can help achieve a rich, durable finish without the buildup of a thick film.
Walnut is a dense hardwood with open pores and a pronounced grain pattern. Its natural coloration can range from light chocolate to deep espresso, and it often contains streaks of lighter or darker tones. Proper surface preparation is essential to ensure that the oil absorbs evenly and that the final appearance is consistent. The application process itself is relatively straightforward, but it requires patience, attention to detail, and a willingness to work in thin layers. By following a systematic approach, you can develop a finish that highlights the wood’s character while providing a reasonable degree of protection for everyday use.
It is important to note that results can vary based on factors such as the specific type of Danish oil, the condition of the wood, environmental conditions, and the number of coats applied. The information presented here is intended as a general framework and should be adapted to your particular situation. Always test on a small inconspicuous area before proceeding with the entire piece.
Understanding Danish Oil and Its Suitability for Walnut
Danish oil is typically a mixture of penetrating oils, such as tung oil or linseed oil, combined with varnish or other resins and solvents. This blend allows the oil to soak into the wood while the resins provide a modest amount of surface protection. The solvent thins the mixture, enabling deeper penetration and faster drying. When applied to walnut, Danish oil tends to darken the wood slightly and warm its tone, which can enhance the natural depth of the grain. Because it does not form a thick film, it is less prone to chipping, cracking, or peeling compared to some surface finishes. However, it also offers less resistance to water, heat, and abrasion, so it may not be ideal for surfaces that experience heavy wear or frequent exposure to moisture.
The choice of Danish oil can influence the final outcome. Some products are formulated with additional UV inhibitors or other additives, while others are more basic. It is advisable to read the manufacturer’s instructions and safety data before use. Additionally, the age and porosity of the walnut can affect absorption rates. Old, dry wood may soak up more oil than freshly planed or sanded wood, potentially requiring additional coats to achieve an even sheen. Understanding these variables helps set realistic expectations and guides the application process.
Preparing the Walnut Surface
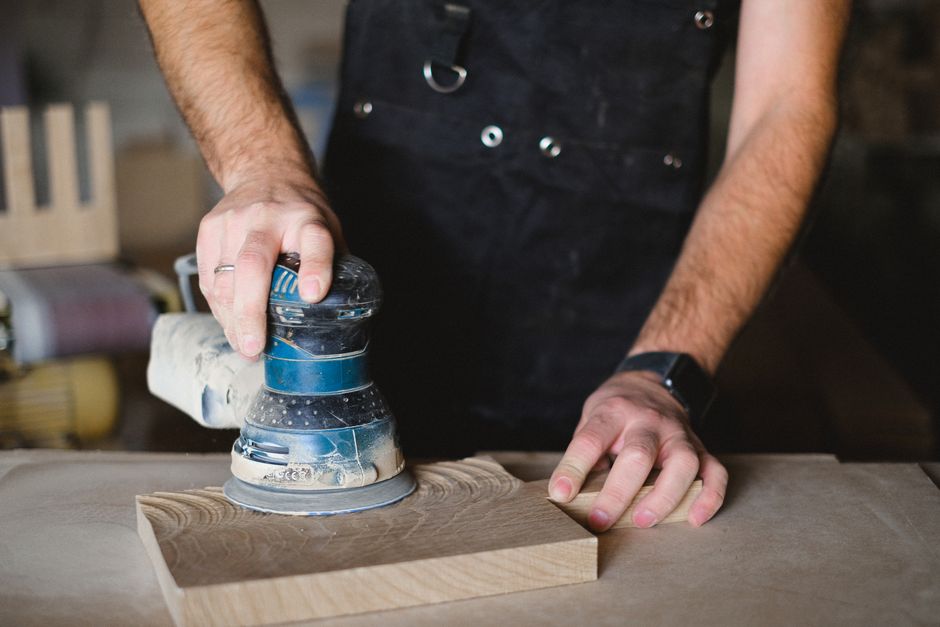
Proper preparation is arguably the most critical step in achieving a satisfactory finish with Danish oil. Begin by removing any old finish, dirt, or grease from the surface. If the furniture has an existing finish, you may need to use a chemical stripper or sand it down to bare wood. For bare wood, start sanding with a medium grit, such as 120 or 150, to remove imperfections and smooth the surface. Progress through finer grits, typically up to 220 or 320, depending on the desired smoothness. Walnut can be sanded to a higher grit, but be careful not to burnish the surface too much, as this can reduce the wood’s ability to absorb the oil. Always sand with the grain to avoid cross-grain scratches that may become more visible once the oil is applied.
After sanding, it is essential to remove all dust. Use a vacuum with a brush attachment, followed by a tack cloth or a lightly dampened cloth with mineral spirits. Allow the surface to dry completely before applying any finish. If the wood has dents or deep scratches, you may need to raise the grain using a damp cloth and then sand again. For open-pored woods like walnut, you might consider using a grain filler to achieve a smoother surface, but this is optional. Some woodworkers prefer to leave the pores open to allow the oil to penetrate more deeply and to maintain a more natural look. Ultimately, the decision depends on the desired aesthetic and the level of smoothness you wish to achieve.
Application Process: Multiple Coats for Depth and Protection
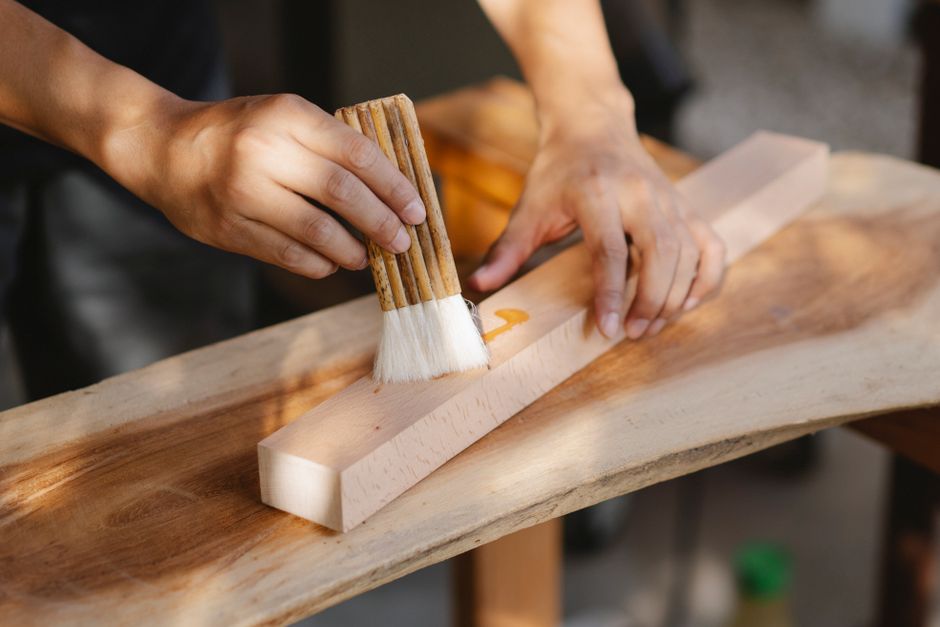
Applying Danish oil is a straightforward process, but it requires patience and a methodical approach. Work in a well-ventilated area with appropriate personal protective equipment, such as gloves and a respirator, as the solvents in Danish oil can be harmful. Stir the oil thoroughly before use; do not shake, as this can introduce bubbles. Apply the first coat generously using a brush, cloth, or foam applicator. Allow the oil to sit on the surface for about 15 to 30 minutes, then wipe off any excess with a clean, lint-free cloth. It is important not to let the oil pool or dry on the surface, as this can lead to a sticky or uneven finish. The first coat often absorbs quickly, especially on dry or porous wood.
After the first coat, allow the surface to dry according to the manufacturer’s recommendations. This typically takes 8 to 12 hours, but it can vary based on temperature and humidity. Once dry, lightly sand the surface with a fine grit, such as 400 or 600, to smooth any raised grain and improve adhesion for the next coat. Remove all sanding dust before proceeding. Apply subsequent coats in the same manner, but you may reduce the waiting time before wiping off the excess. Each additional coat will add a slight build and increase the sheen, but the finish will remain thin. The number of coats required depends on the desired look and the wood’s absorbency. Typically, three to five coats are sufficient for a rich, durable finish on walnut. Between coats, you can also use a fine abrasive pad or steel wool to lightly abrade the surface, which helps create a smooth, even sheen.
It is important to avoid applying too many coats in a short period. Each coat should be allowed to cure adequately before the next is applied. Rushing the process can result in a gummy or uneven finish. Additionally, always dispose of oily rags properly, as they can spontaneously combust if left in a pile. Follow local regulations for safe disposal.
Finishing Touches and Ongoing Care
After the final coat has dried and cured, you may choose to apply a furniture wax to add a little extra sheen and protection. A paste wax can be applied with a cloth and buffed to a soft luster. This step is optional but can enhance the tactile feel of the surface. If you prefer a more matte look, you can skip the wax and simply buff the surface with a dry cloth. Allow the finish to cure fully before placing objects on the furniture; this can take several days to a week, depending on conditions. During this time, avoid exposing the surface to water, heat, or heavy use.
For ongoing maintenance, dust regularly with a soft cloth and occasionally wipe with a damp cloth followed by a dry one. Avoid using harsh chemical cleaners or abrasive pads that can damage the finish. If the surface begins to look dry or dull over time, you can apply a thin coat of Danish oil to refresh it. This is one of the advantages of an oil finish: it can be maintained and repaired relatively easily without stripping. However, if the furniture is exposed to excessive moisture or heat, the finish may need more frequent attention. Always address spills promptly to minimize potential damage.
In summary, applying Danish oil to walnut furniture involves careful surface preparation, multiple thin coats, and adequate drying time between applications. The process is not complicated, but it does require attention to detail and a bit of patience. By following these general guidelines and adjusting based on your specific conditions, you can achieve a finish that enhances the natural beauty of walnut while providing a reasonable level of protection. Remember that the outcome depends on many factors, and it is always wise to test on a sample piece first. Whether you are a seasoned woodworker or a novice, the rewarding results of a well-executed oil finish can be very satisfying.