How to Build a Sturdy Oak Dining Table
Building a sturdy oak dining table is a rewarding woodworking project that combines traditional joinery with careful measurement and assembly. Oak is a hardwood known for its density and durability, making it a suitable choice for a table that will withstand daily use. The process involves selecting appropriate lumber, milling it to precise dimensions, cutting mortise and tenon joints, and applying a protective oil finish. Each step requires attention to detail and a methodical approach to ensure the final piece is both functional and long-lasting.
This article outlines a process for constructing a dining table using mortise and tenon joinery, which is valued for its strength and resistance to racking. The measurements provided are based on a standard dining table size, but they can be adjusted to suit specific needs. The assembly steps assume access to common woodworking tools and a workspace where large pieces can be handled safely. The finish selected is an oil-based product that enhances the natural grain of the oak while offering a degree of protection against spills and wear.
Before beginning, it is important to understand that wood is a natural material that responds to changes in temperature and humidity. Therefore, allowing the lumber to acclimate to the environment where the table will be used is a recommended practice. Additionally, working with sharp tools and taking safety precautions, such as wearing eye and ear protection, can help prevent accidents. The following sections detail the planning, cutting, joinery, assembly, and finishing stages, with an emphasis on accuracy and patience.
Selecting and Preparing the Oak Lumber
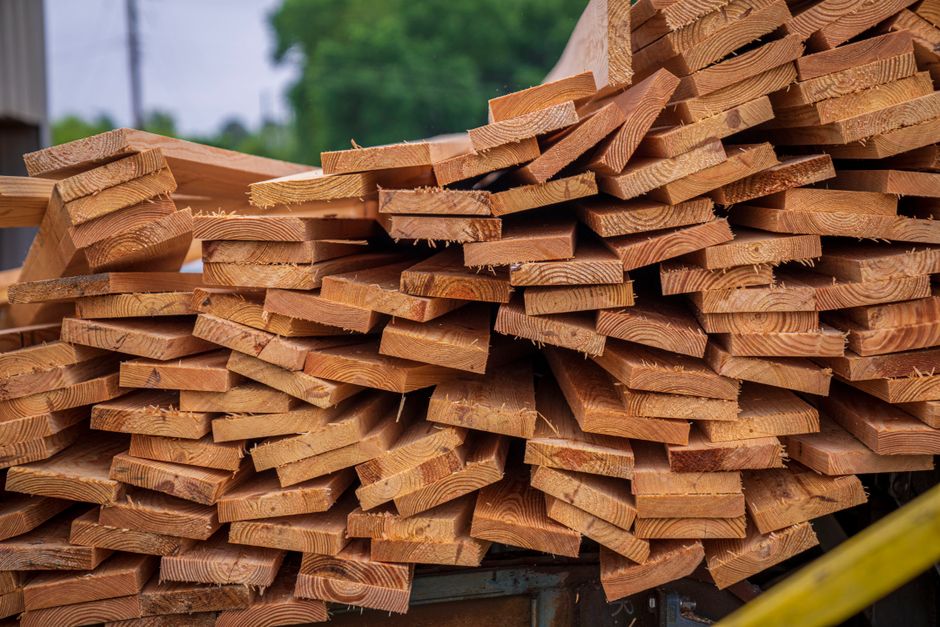
The first step in building a sturdy oak dining table is selecting the right lumber. Oak is available in two main varieties: red oak and white oak. Both are hard and durable, but white oak is generally more resistant to moisture and has a tighter grain. For a dining table, 8/4 (two-inch thick) lumber is often used for the legs, while 5/4 (one-and-a-quarter-inch) or 6/4 (one-and-a-half-inch) stock is suitable for the aprons and tabletop. It is advisable to purchase lumber that is planed on two sides (S2S) or surfaced on four sides (S4S) to reduce milling time, but roughsawn lumber can be more economical if a planer and jointer are available.
When selecting boards, look for straight grain and avoid pieces with large knots, checks, or splits, as these can weaken the structure. For the tabletop, choose boards that are wide enough to minimize the number of glue joints; a typical tabletop might consist of four to six boards glued edge-to-edge. The lumber should be allowed to acclimate to the shop environment for at least a week before milling. This helps reduce movement after assembly. Once acclimated, rough-cut the pieces to slightly oversized dimensions, leaving extra material for jointing and planing.
Milling the lumber involves flattening one face and one edge on a jointer, then planing the opposite face to thickness on a thickness planer. The edges should be squared and straightened. For the legs, mill them to final dimensions, typically 3 inches square, unless a different size is desired. The aprons are usually 1 inch thick and 4 to 6 inches wide, depending on the design. The tabletop boards are milled to a uniform thickness, often 1-1/4 inches, and their edges are jointed straight for a tight glue seam. Accurate milling is critical for strong joints and a flat tabletop.
Cutting the Mortise and Tenon Joints
Mortise and tenon joinery is a traditional method that provides a strong mechanical connection between the legs and aprons. The mortise is a rectangular cavity cut into the leg, while the tenon is a protruding tongue cut on the end of the apron. When properly fitted and glued, this joint resists twisting and racking forces. To begin, mark the locations of the mortises on the legs. The aprons should be positioned so that their top edges are flush with the top of the legs or slightly below, depending on the tabletop overhang. Typically, the top of the apron is set 1/4 inch below the top of the leg to allow for tabletop attachment.
For a standard table, the long aprons connect the two end assemblies, and the short aprons connect the legs on each end. The mortises for the long aprons are cut into the legs on the inside faces, while the mortises for the short aprons are cut on the adjacent faces. Use a mortising machine or a router with a spiral upcut bit and a edge guide to cut the mortises. The mortise width should match the tenon thickness, usually 3/8 inch or 1/2 inch. The length of the mortise should be about 1/3 the width of the apron, and the depth should be slightly more than the tenon length to allow for glue escape.
Cut the tenons on the ends of the aprons using a table saw with a dado stack or a tenoning jig. The tenon should fit snugly into the mortise without forcing. A shoulder is left on the apron to cover the mortise opening and provide a clean look. Test-fit each joint before assembly. If the tenon is too tight, adjust with a shoulder plane or file. If too loose, consider adding a thin veneer shim or using a gap-filling adhesive. Proper fit is essential for structural integrity. Additionally, you may choose to pin the tenons with dowels for extra strength, especially on the long aprons.
Assembling the Table Base
Assembly of the table base should be done on a flat surface to ensure the legs remain square. Start by assembling the two end frames, each consisting of two legs and a short apron. Apply wood glue to the mortise and tenon surfaces, insert the tenons into the mortises, and clamp the assembly. Check for square by measuring diagonally from opposite corners; the measurements should be equal. If not, adjust the clamps until square. Allow the glue to cure according to the manufacturer’s instructions before proceeding.
Once the end frames are cured, attach the long aprons to connect the two frames. This step may require assistance to manage the large assembly. Apply glue to the mortises and tenons, and slide the long aprons into place. Use bar clamps to pull the joints tight. Again, check for square and adjust as needed. It is also important to check that the legs are plumb and that the base does not rock. If the base rocks, identify the high point and adjust the joint or sand the bottom of the leg slightly. After the glue has cured, the base should be rigid and stable.
To further reinforce the base, corner braces or diagonal supports can be added. These are typically triangular pieces of wood glued and screwed into the inside corners where the aprons meet the legs. They help prevent racking and add rigidity. Another option is to add a stretcher between the long aprons, but this may interfere with seating. The choice depends on the intended use and design. After assembly, sand all surfaces to remove glue squeeze-out and prepare for finishing. The base is now ready for the tabletop.
Constructing and Attaching the Tabletop
The tabletop is made by gluing up narrower boards edge-to-edge to create a wide panel. Arrange the boards so that the grain direction alternates to minimize cupping. Apply glue to the edges, clamp the boards together using bar clamps or pipe clamps, and ensure the panel is flat. Use cauls to distribute pressure evenly. After the glue dries, scrape off excess glue and flatten the panel using a hand plane or drum sander. The final thickness should be uniform, typically 1-1/4 inches. Cut the panel to final dimensions, allowing for a 1-inch overhang on all sides of the base.
To attach the tabletop to the base, use tabletop fasteners or figure-eight clips that allow for wood movement. These fasteners are screwed to the aprons and fit into slots cut into the underside of the tabletop. Do not glue the tabletop to the base, as the wood needs to expand and contract with seasonal changes. If the tabletop is attached rigidly, it may crack. Alternatively, you can use buttons that fit into grooves in the aprons. Pre-drill holes for screws to prevent splitting. Ensure the tabletop is centered and secure before moving the table.
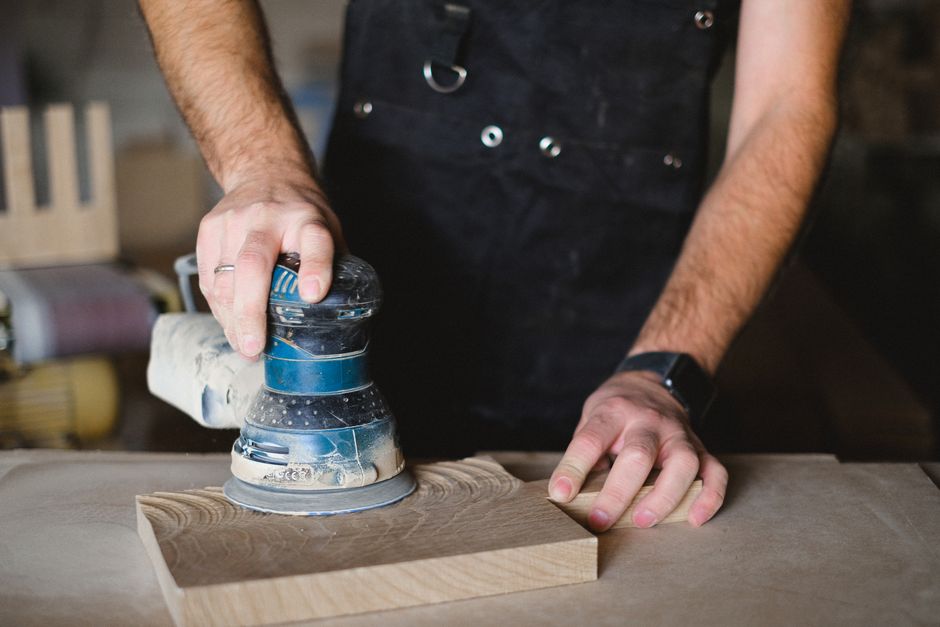
After attaching the top, inspect the table for any gaps or misalignments. Minor imperfections can be filled with a wood filler that matches the oak color. Sand the entire table, starting with 120-grit and progressing to 180 or 220-grit. Remove all dust with a tack cloth before applying the finish. The tabletop surface should be smooth and free of scratches. If desired, a chamfer or roundover can be routed on the edges for a softer look. This also reduces the risk of splintering.
Applying a Protective Oil Finish
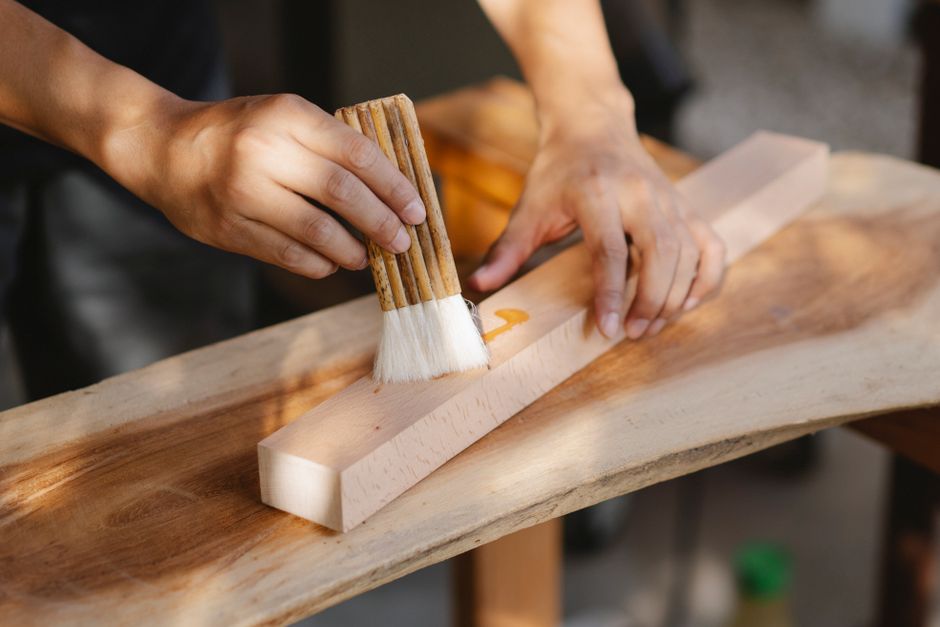
An oil finish penetrates the wood fibers and provides protection from within, enhancing the natural beauty of the oak. Before applying, ensure the workspace is well-ventilated and free of dust. Stir the oil thoroughly, but do not shake it, to avoid bubbles. Apply the oil generously with a brush, roller, or lint-free cloth, working in the direction of the grain. Allow it to soak in for 15 to 30 minutes, then wipe off any excess with a clean cloth. If the oil becomes tacky, it has dried too much; you may need to apply a solvent to remove it and start over.
For a more durable finish, multiple coats are recommended. After the first coat, allow it to dry for 24 hours, then lightly sand with 320-grit paper to smooth the raised grain. Remove dust and apply a second coat. Repeat this process for a total of three to four coats, depending on the desired sheen and protection level. The final coat should be wiped dry and allowed to cure for several days before use. Keep in mind that oil finishes require periodic maintenance; reapply oil annually or as needed to maintain protection.
It is important to note that oil finishes do not provide the same surface protection as film-forming finishes like polyurethane. They are easier to repair but may need more frequent attention. Spills should be wiped up promptly to prevent staining. Coasters and placemats can help protect the surface. The finished table should be allowed to cure fully before placing heavy objects on it. With proper care, an oil-finished oak table can develop a rich patina over time.
In conclusion, building a sturdy oak dining table involves careful planning, precise joinery, and a methodical approach to assembly and finishing. By following the steps outlined—selecting quality lumber, cutting accurate mortise and tenon joints, assembling the base, constructing the tabletop, and applying a protective oil finish—you can create a piece of furniture that is both functional and enduring. Remember that woodworking projects often require patience and practice, and each step builds on the previous one. With attention to detail, the result can be a table that serves as a centerpiece for gatherings for years to come.